How to calibrate Pt100 temperature sensor

Understanding how to calibrate a Pt100 sensor is very important. Pt100 temperature sensors and other types of RTD temperature probes conform to internationally approved standards but it is important to recognise that the standards only govern the specification of the sensing element used. The building of a temperature sensor assembly adds in many other components which have the potential to affect the overall sensor accuracy.

As a manufacturer of high-quality temperature sensors, we use various assembly techniques and carefully selected components in order to maintain accuracy levels in the finished assembly. Some of the factors that can affect accuracy are as follows:
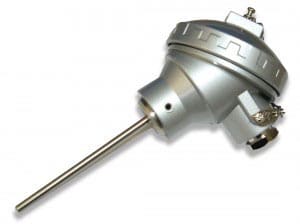
The Pt100 RTD thermocouple from Process Parameters who offer bespoke sensor manufacturing for any specification

Wiring system selected – to maintain the highest accuracy a 4-wire system should be used. As a minimum, a 3-wire system should be used. Both compensate for lead resistance whereas a 2-wire measuring system cannot.

Depth of immersion – it is important to ensure that a probe is immersed sufficiently in the fluid you wish to measure. As a guide, you should aim to immerse the probe by 10 times the stem diameter PLUS the sensing length of the sensing element. As a bare minimum, you should immerse by 5 times the diameter plus sensing length, but you may expect some slight inaccuracies.

Poor quality junctions and joins in the measuring circuit – any join within the sensor wiring system will tend to increase the resistance of that connection. It is clearly important therefore to use joining and connection methods which keep these resistances to a minimum. This is equally important when choosing and fitting connectors to the measurement circuit. Poor-quality solder joins or loose screw terminals at these points can introduce errors.

Therefore, it can be seen that it is not easy to determine the finished accuracy of a Pt100 temperature sensor due to the inclusion of various other components necessary to finish the assembly. In many applications, it is therefore prudent to consider a calibration for the sensor to ensure that the finished accuracy meets the requirements of the application.

At Process Parameters, we offer professional PT100 calibration services using our laboratory measurement equipment. Our team of trained experts are able to ensure that your temperature-measuring devices are performing correctly and conform to all manufacturer standards. Contact us now for a  calibration services quotation.

thermocouple-with-documenting-process-calibrator

Interested in our Pt100 temperature calibration service?

Contact us on 01628 778688 for a free quote.

Alternatively click on the button below and fill out our contact form.

How to calibrate a Pt100 Probe continued.

What does calibration of a Pt100 temperature sensor mean?

With many other types of sensor products, calibration is performed routinely in order to configure the sensor and ensure it meets the technical specification as offered by the supplier. For example, a pressure transmitter will be fitted to a deadweight tester or pressure generator which can develop pressure at various points through the measuring range. The transmitter is then adjusted to ensure that the output falls within the agreed tolerance. This calibration process will include zero and span measurements but also intermediate measurements to handle any non-linearity that may occur.

For a pure Pt100 temperature, this will not be the case however as there is no mechanism by which the sensor can be adjusted. Therefore, the process is more of a test report rather than a process by which a sensor is manipulated. Learn more about temperature calibration.

How to Calibrate a Pt100 RTD Temperature Sensor

The calibration process is carried under carefully controlled conditions in order to ensure uniformity across a batch or batches of sensors. For UKAS accredited laboratories this would include the temperature and humidity control of the laboratory where the calibration is taking place.

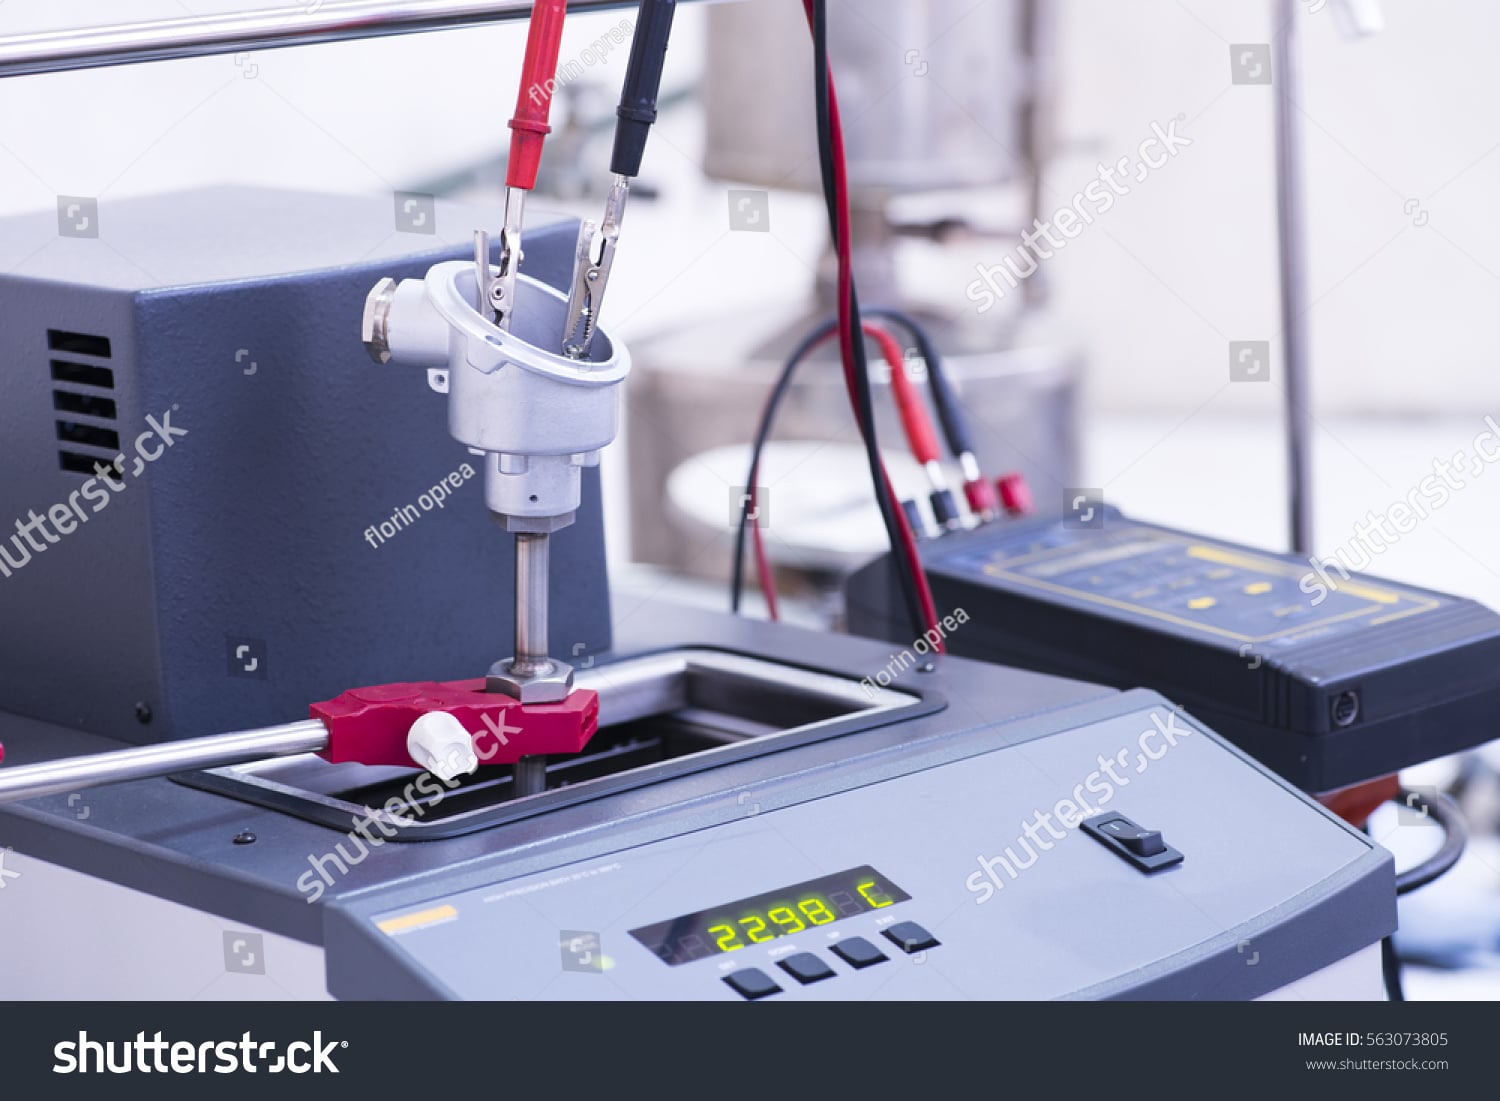
The calibration of the Pt100 sensor is carried out by comparing the measured value from the sensor against a high accuracy independently calibrated reference sensor. Both sensors are immersed into either a stirred fluid-filled bath or a dry-block calibrator. Each has its benefits which will be described later in this document.

The comparison is carried out extremely carefully and it is always very important to consider the following functions: –

  • Depth of immersion – both the reference and the specimen need to be immersed sufficiently to ensure the highest quality measurement. In a fluid bath, it is usual to avoid touching the side of the bath, particularly where refrigeration is used to chill the fluid. In a dry block, the probes should always be completely inserted into the block to the bottom of the hole.
  • Position within the bath – it is important to understand the temperature profile of your bath and if there are any areas within it which have temperature variations. Even a well-stirred bath may have variations near the sides or in dead spots. Dry blocks do not suffer from this issue. Both the reference and specimen probes should normally be placed as close as possible to one another.
  • Stability – there is no possible way to rush a temperature calibration. Unlike other measurement parameters which can be generated almost instantaneously, temperature cannot. Time must be allowed for the bath or dry block to reach a stable measurement and under certain circumstances, this may be some considerable time. Things to affect this time are: –
    • The set temperature value or the difference between the current value and the new value. All baths and dry blocks will take time to heat up or cool down. The bigger the differential between the current temperature and the set point the longer it will take. In some cases, this could be an hour or more.
    • Even if the bath is at a stable temperature, placing a probe which is room temperature into the fluid will still demand a delay before measurements are taken. The initial response may be swift but ultimate accuracy is not achieved for some time. We usually wait for a minimum of 15 minutes for stability to be achieved.

Once stability has been reached, the next stage comes down to simply recording the measurements from both the reference probe and the specimen probe. Generally this is done manually, but for high volumes it is quite normal for software to handle the measurements automatically. The software is set up to detect stability before the readings are taken. These readings are then used to populate a calibration certificate. This certificate will list the measurements take and also give details of the reference equipment used.

What can you do with the Calibration Certificate data?

As it is relatively normal for a Pt100 temperature to be calibrated on its own, without the customers measuring instrument, the data can serve one of two purposes:-

  1. The measurement values demonstrate the accuracy of the Pt100 temperature at a variety of temperature points. The customer can use this data to verify that the sensor meets the tolerance requirements of the process and it validates that any measurement they take using the sensor are within acceptable limits.
  2. The data can be used to configure the measuring instrument to reduce or eliminate the measuring error. This is often called an “off-set” and quite simply the measured error is entered into the configuration system within the temperature transmitter, indicator, temperature controller or data logger. Once this is done the user can have confidence that the displayed temperature is accurate.

A temperature point is simply a measured temperature at which the calibration will be carried out and you should always choose temperatures which are representative of your process. There is no point in calibrating a probe used in refrigeration at 250°C!

The number of temperature points will depend on the customer’s requirements. Most commonly customers choose three points and generally include 0°C as one of these. There is no limit however to the number of points but it should be noted that each point adds to the cost of the calibration.

The temperature points will also be limited by the capabilities of the laboratory with many concentrating on a relatively narrow range. Very high or very low temperatures are carried out by fewer laboratories and therefore command a higher price.

a single RTD temperature probe calibrated correctly to conform to internationally approved standards
thermocouple-calibration-in-progress

Interested in a Pt100 for your application?

Contact us on 01628 778688 to discuss further.

Alternatively click on the button below and fill out our contact form.

What equipment do I need for calibrating Pt100 temperature sensors?

In a nutshell, you will need to arrange a stable source of temperature. In practical terms this usually means using either a stirred fluid bath with at least a heater and temperature controller (some have refrigeration as well) or a dry-block calibrator. Some laboratories use fluidised beds of granular material which is heated and circulated in such a way that it acts as a fluid.

Which method you choose will be determined by your expectations and requirements as each has its benefits as follows:

Fluid Filled Baths

  • Intimate contact between the sensor and fluid means a fast response time and best accuracy.
  • Not portable – only suitable for fixed installations.
  • Limited temperature range due to fluids used. Silicone oil allows use to 240°C. Water/glycol down to -25°C.
  • Possible to calibrate a higher quantity of sensors in one batch.
  • Can calibrate shorter probes.

Dry Block Calibrators

  • Portable so suited to on-site calibration.
  • Potentially wide temperature range but dependent on model. One model will not necessarily do very low and very high temperatures.
  • The metal dry block is drilled with holes of certain sizes to accommodate probes of various diameters. Blocks can be changed but adds cost. Not convenient to calibrate probes of various diameters.
  • Limited number of holes in a block which reduces the number of probes which can be calibrated at one time.
  • Potential air gap between sensor and bore of block increases response time.
  • Probe must be inserted fully into a block. Not possible to calibrate short sensors.

In addition to a stable, uniform source of temperature you will also need a reference temperature measurement thermometer. In some cases, this can be the built-in thermometer/temperature controller but as this will need regular independent calibration by an external laboratory it is generally more convenient to use a separate temperature probe and thermometer. This gives greater control of this part of the system and you can choose a device which meets the requirements of your application more precisely.

The final element of the system is to have your reference measurement system calibrated by an appropriate body. In order to perform traceable calibration to National Standards, this should be done by an accredited laboratory. In the UK the accreditation body is called UKAS and the laboratory used must have their systems and processes audited by UKAS to be compliant. This does not allow you to issue “UKAS Accredited” calibration certificates, it only permits the issuing of a traceable calibration certificate and it should clearly state that this is the case.

Whilst it is very common to calibrate a Pt100 temperature probe in isolation, it is important to remember that the probe is just a component within a larger measuring or control system. The sensor serves no purpose on its own and must be added to other instrumentation in order to provide an output and therefore a temperature measurement.

The accuracy of this measurement system is not only dependent on the accuracy of the Pt100 temperature sensor but also on the other components that make up the system. In general, this will include the thermometer, temperature controller or data logger that is being used. If a temperature transmitter is being used this will also have its own tolerance. Other factors that can affect system accuracy are interconnects and long cable runs.

A more valid calibration is that of the complete measuring system as this will include all the tolerances for all the components of the system.

More about Pt100 Sensors